
Histograms with Excel: A Comprehensive Guide for Visualizing Data
Creating histograms in Excel is a powerful way to visualize the distribution of your data. Whether you’re analyzing sales figures, test scores, or any other quantitative data, histograms can help you understand the patterns and trends within your dataset. In this detailed guide, I’ll walk you through the process of creating histograms in Excel, covering various aspects to ensure you get the most out of this feature.
Understanding Histograms
A histogram is a graphical representation of the distribution of a dataset. It consists of a series of bars, where each bar represents a range of values and the height of the bar indicates the frequency or count of data points within that range. Histograms are particularly useful for visualizing the shape, center, and spread of a dataset.

Here’s a simple example to illustrate how histograms work. Imagine you have a dataset of test scores ranging from 0 to 100. By creating a histogram, you can see how many students scored between 0-20, 20-40, 40-60, 60-80, and 80-100. This visual representation can help you identify the most common score range and any outliers.
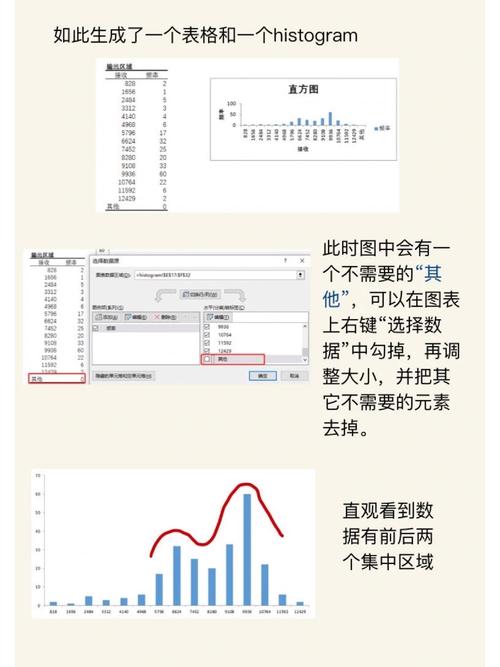
Creating a Histogram in Excel
Now that you understand what histograms are, let’s dive into the process of creating one in Excel. Follow these steps to create a histogram for your data:
- Open Excel and enter your data into a column or row.
- Select the data range you want to include in the histogram.
- Go to the “Insert” tab on the ribbon.
- Click on the “Histogram” button in the “Charts” group.
- Select the type of histogram you want to create (e.g., Clustered, Stacked, or 100% Stacked).
- Customize the chart by adding titles, adjusting the axes, and formatting the bars.
Excel offers various options for customizing your histogram. You can change the color of the bars, add data labels, and even create a secondary axis if you want to compare two datasets side by side.
Interpreting Histograms
Once you’ve created a histogram, it’s essential to interpret the data correctly. Here are some key points to consider:
- Shape: The shape of the histogram can indicate the distribution of your data. A normal distribution will have a bell-shaped curve, while a skewed distribution will have a longer tail on one side.
- Center: The center of the histogram represents the mean or median of your data. If the bars are evenly distributed around the center, it suggests a symmetric distribution.
- Spread: The spread of the histogram indicates the variability of your data. A wider spread suggests more variability, while a narrow spread indicates less variability.
By analyzing the shape, center, and spread of your histogram, you can gain valuable insights into your data and make informed decisions.
Common Uses of Histograms
Histograms are widely used in various fields, including statistics, finance, marketing, and quality control. Here are some common applications:
- Quality Control: Histograms can help identify defects in a manufacturing process by analyzing the distribution of defects.
- Marketing: Histograms can be used to analyze customer demographics, such as age, income, and location.
- Finance: Histograms can help visualize the distribution of stock prices or investment returns.
- Statistics: Histograms are a fundamental tool for understanding the distribution of data and making inferences about the population from which the sample was drawn.
By using histograms, you can uncover patterns and trends in your data that might not be apparent through other visualizations or statistical methods.
Advanced Histogram Techniques
Excel offers several advanced techniques for creating and customizing histograms. Here are a few worth exploring:
- Bin Width: Adjusting the bin width can help you control the level of detail in your histogram. A smaller bin width will result in more bars, while a larger bin width will result in fewer bars.
- Custom Bins: You can create custom bins to match specific ranges or categories in your data.
- Overlaying Multiple Datasets: