
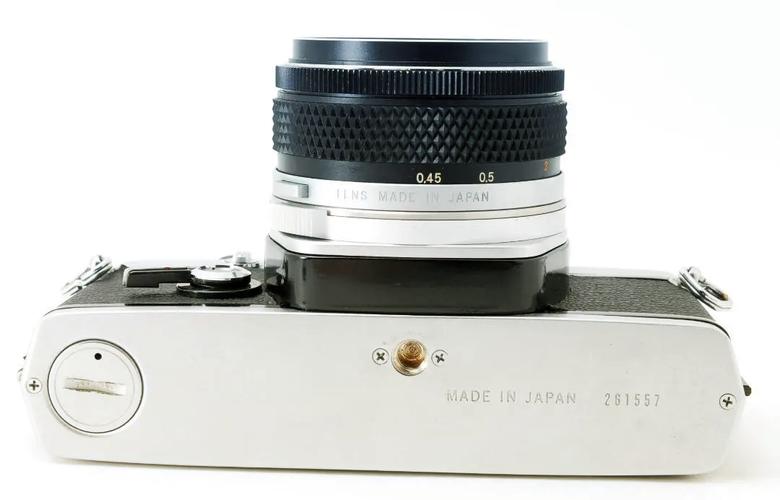
Olympus OM 1 Battery Modification: A Comprehensive Guide
Are you an Olympus OM 1 camera enthusiast looking to breathe new life into your trusty device? One of the most common upgrades for these classic cameras is a battery modification. This guide will walk you through the process, benefits, and considerations involved in modifying your Olympus OM 1 battery.
Understanding the Battery Modification
The Olympus OM 1 battery modification involves replacing the original battery with a more powerful and reliable alternative. The original battery, often a CR123A, can be limiting in terms of power and lifespan. By upgrading to a higher capacity battery, such as a 18650, you can significantly improve your camera’s performance.

Benefits of Battery Modification
Here are some of the key benefits of modifying your Olympus OM 1 battery:
| Benefit | Description |
|---|---|
| Increased Power | Higher capacity batteries provide more power, allowing for longer shooting sessions without worrying about battery life. |
| Improved Reliability | Modern batteries are more reliable and have a longer lifespan than the original CR123A battery. |
| Customization Options | With a modified battery, you can customize your camera’s power settings and shooting modes to suit your preferences. |
Choosing the Right Battery
Selecting the right battery for your Olympus OM 1 is crucial. Here are some factors to consider:
-
Capacity: Look for a battery with a higher capacity, such as a 18650, to ensure longer battery life.
-
Size: Ensure the battery fits comfortably in your camera without causing any damage or discomfort.
-
Compatibility: Check for compatibility with your camera model and ensure the battery has the appropriate voltage and connection type.
Modifying Your Olympus OM 1 Battery
Modifying your Olympus OM 1 battery is a relatively straightforward process. Here’s a step-by-step guide:
-
Disassemble your camera: Remove the back cover and battery compartment to access the original battery.
-
Remove the original battery: Carefully disconnect the battery from the camera and set it aside.
-
Install the new battery: Insert the new battery into the battery compartment, ensuring it is properly seated.
-
Reassemble the camera: Put the back cover back on and secure it in place.
-
Test the camera: Power on your camera to ensure the new battery is working correctly.
Considerations and Tips
Here are some important considerations and tips to keep in mind when modifying your Olympus OM 1 battery:
-
Use high-quality batteries: Invest in a reputable brand to ensure the best performance and longevity.
-
Be cautious during disassembly: Handle the camera with care to avoid damaging any components.
-
Backup your settings: Before making any modifications, save your camera’s settings to avoid losing them.
-
Seek professional help if needed: If you’re not confident in your ability to perform the modification, consider seeking assistance from a professional.
By following this guide, you can successfully modify your Olympus OM 1 battery and enjoy improved performance and reliability. Happy shooting!