
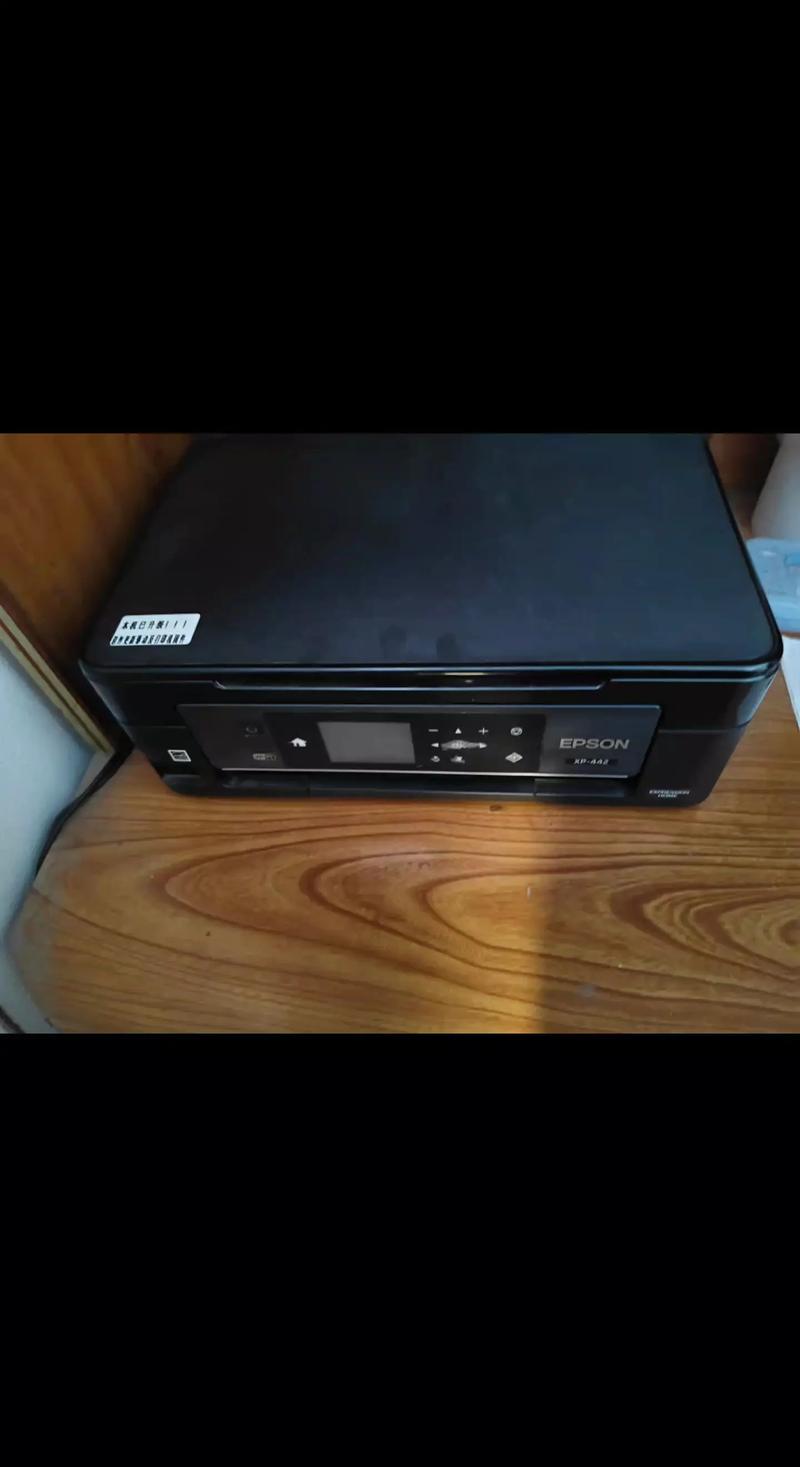
How to Change Ink Cartridge on Epson XP-520: A Step-by-Step Guide
Changing the ink cartridge on your Epson XP-520 printer is a task that every user will eventually need to perform. Whether it’s due to a low ink level or a cartridge that has run out, this guide will walk you through the process in a detailed and easy-to-follow manner.
What You’ll Need
Before you begin, make sure you have the following items ready:

- Epson XP-520 printer
- New ink cartridge
- Scissors or a knife
- Soft cloth
Step 1: Power Off the Printer
Turn off your Epson XP-520 printer to prevent any accidental printing or movement during the cartridge replacement process.
Step 2: Open the Cartridge Door
Locate the cartridge door on the front of the printer. It is usually marked with a small image of an ink cartridge. Gently lift the door to reveal the ink cartridge holder.
Step 3: Remove the Old Cartridge
Grasp the old ink cartridge by the sides and gently pull it out of the holder. Be careful not to touch the copper contacts on the cartridge, as this can cause a print head error.
Step 4: Remove the Packaging
Peel off the protective tape from the new ink cartridge. Be sure to remove all packaging materials, including the plastic wrap and any protective caps.
Step 5: Insert the New Cartridge
Align the new ink cartridge with the holder and gently push it into place. Make sure it is securely seated before closing the cartridge door.
Step 6: Power On the Printer
Turn on your Epson XP-520 printer. The printer will automatically recognize the new ink cartridge and initialize it.
Step 7: Align the Print Head
Follow the on-screen instructions to align the print head. This step is crucial for ensuring high-quality prints.
Step 8: Clean the Print Head
Use the print head cleaning utility provided by the printer’s software to clean the print head. This will help maintain print quality and prevent clogs.
Step 9: Test the Printer
Print a test page to verify that the new ink cartridge is working correctly. If the print quality is satisfactory, you have successfully changed the ink cartridge on your Epson XP-520 printer.
Common Issues and Solutions
Here are some common issues you may encounter during the ink cartridge replacement process, along with their solutions:
| Issue | Solution |
|---|---|
| Printer does not recognize the new cartridge | Ensure the cartridge is properly seated and the contacts are clean. Try using a different cartridge if necessary. |
| Print quality is poor | Check the ink levels and replace the cartridge if necessary. Clean the print head using the printer’s software. |
| Printer is not printing | Check the ink levels and replace the cartridge if necessary. Ensure the printer is connected to a power source and the paper is loaded correctly. |
By following this guide, you should be able to change the ink cartridge on your Epson XP-520 printer without any issues. If you encounter any problems, consult the printer’s manual or contact Epson customer support for further assistance.